A fast website is usually won or lost in one place: images. Oversized files, wrong formats, and inconsistent dimensions can tank your Lighthouse score even if your code is perfect.
LeadCMS solves this at the source. With the new Media Library features and built-in image optimisation, you can upload images once and let the platform automatically produce web-ready assets that load quickly, stay sharp, and keep your pages consistently performant.
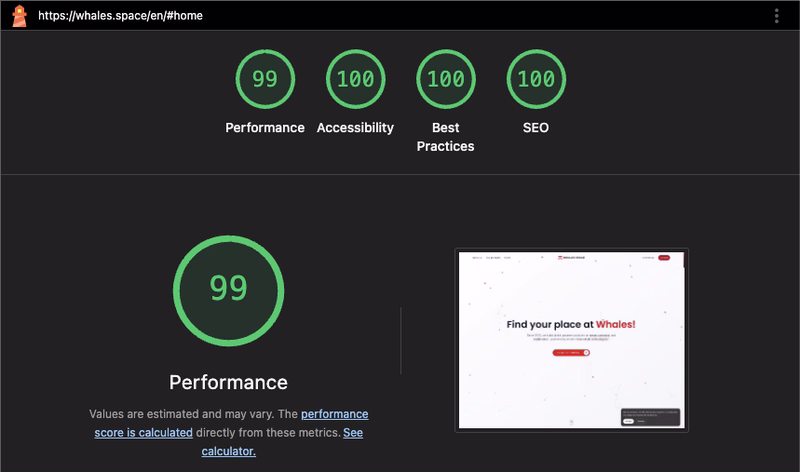
In this article, we'll cover the practical setup and day-to-day workflow that helps teams reliably build very fast websites and aim for 100% Lighthouse performance scores - maybe not exactly 100%, but close:
Why Images Are the #1 Performance Lever
Most pages are image-heavy: hero banners, product shots, blog covers, screenshots, logos, thumbnails. If those images are too large, your visitors pay the price with:
- Slower Largest Contentful Paint (LCP)
- Higher bandwidth usage (especially on mobile)
- Lower performance scores and worse UX
LeadCMS tackles these problems by making image optimisation part of your normal publishing workflow - not a separate tool chain you have to remember.
Step 1: Turn On Media Optimisation (The “Set It and Forget It” Win)
LeadCMS can automatically optimise images as they are uploaded. This includes:
- Converting images into modern formats like AVIF (or WebP/JPEG/PNG)
- Resizing oversized images to a maximum dimension you control
- Reducing file sizes while keeping good quality
- Preserving transparency where supported (important for UI assets)
This is configured in the Settings panel.

Settings now include:
- File Management: maximum file size for uploads (KB)
- Optimisation Settings:
- Auto-Optimise on Upload (manual optimisation in Media Preview is always available)
- Maximum Dimensions (width/height)
- Format & Quality (target format like AVIF and quality %)
- Cover Image Settings:
- Auto-resize cover images
- Cover dimensions (used for both AI generation and automatic resizing)
A solid default for most sites is:
- Enable Media Optimisation: On
- Preferred Format: AVIF (best compression)
- Maximum Dimensions: something reasonable like 1024×1024 (or smaller if your design never needs bigger)
Why this matters for Lighthouse: smaller images download faster, decode faster, and reduce LCP (Largest Contentful Paint) risk - without needing developers to manually run scripts or designers to export “web versions” every time.
Step 2: Upload Images the Fast Way (Drag, Drop, Done)
Once optimisation is enabled, your normal upload flow becomes your performance workflow.
LeadCMS supports multi-file drag-and-drop uploads with clear feedback. This makes it easy to keep a project moving even when you have a lot of media to publish.
Practical tip: keep uploads organized by using the folder path (scope UID) for each page, post, or feature area. A tidy media library makes it easier to maintain performance over time.
Step 3: Use the New Media Library Views to Stay Organized
Performance isn't only about speed today - it's also about staying fast as your site grows. The improved media grid/list views help teams keep control over what ships.
You can quickly scan:
- File types (to spot outdated formats)
- File sizes (to spot heavy assets)
- Usage (to avoid breaking content)
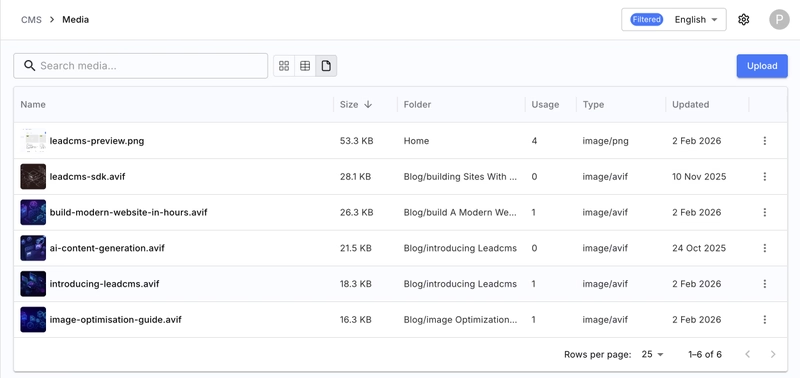
A simple rule of thumb: if you see unexpectedly large files in a content area that affects LCP (hero images, above-the-fold visuals), optimise them immediately.
Step 4: Verify the Results in the Preview and Details Tabs
LeadCMS makes optimisation visible. In the Media Preview dialog you can:
- Check the image visually (Preview tab)
- See size and dimensions (Details tab)
- Copy the URL for your content or front-end
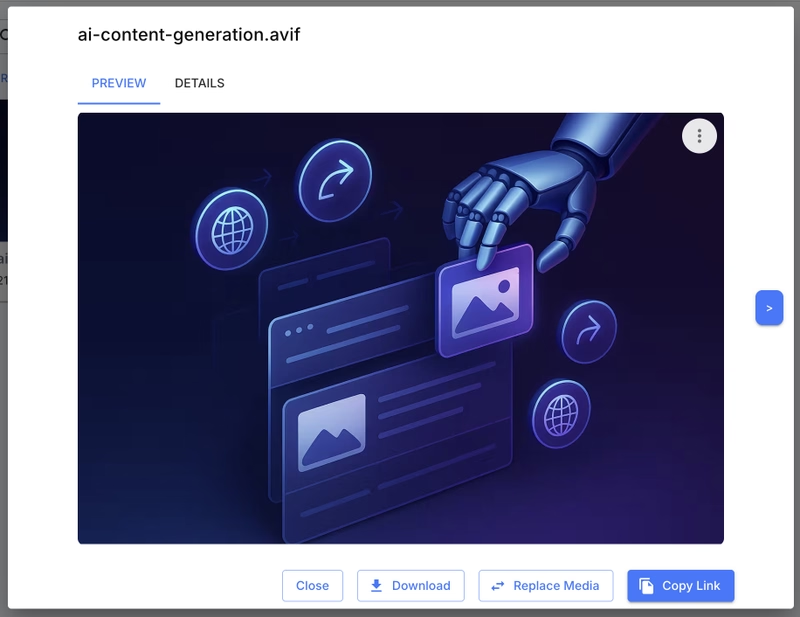
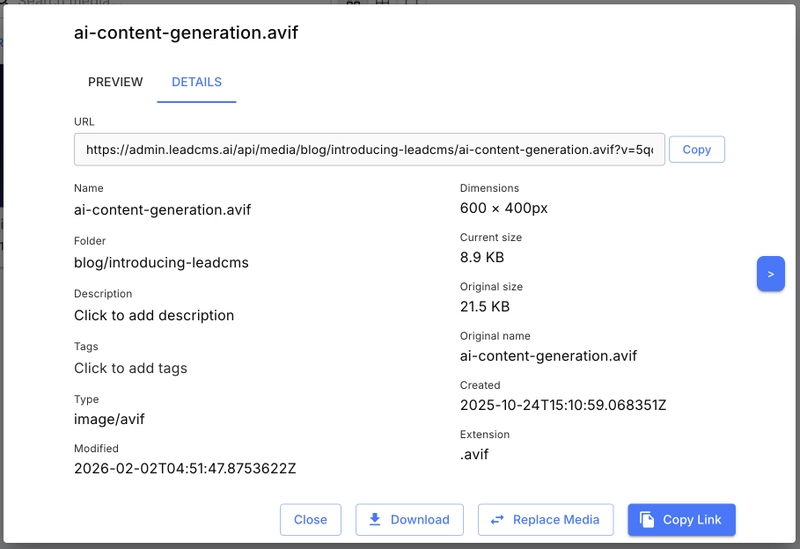
The key Lighthouse benefit here is confidence: editors can confirm that an image is not only “the right picture”, but also the right format, dimensions, and weight.
Step 5: Resize Images (Without Re-exporting in Photoshop)
Sometimes the best optimisation is simply serving the right dimensions. If your blog layout only renders images at ~1200px wide, uploading a 5000px image is wasted bytes.
LeadCMS includes a Resize tool directly in the media UI. It’s ideal for:
- Scaling down large screenshots
- Creating smaller variants for lightweight pages
- Fixing images that are “too big” for the design
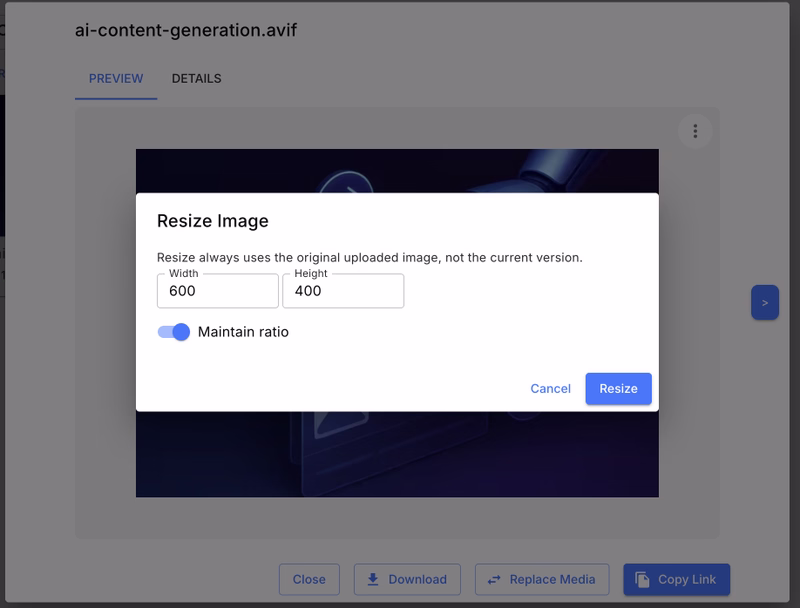
This is one of the easiest ways to prevent common Lighthouse warnings like “Properly size images”.
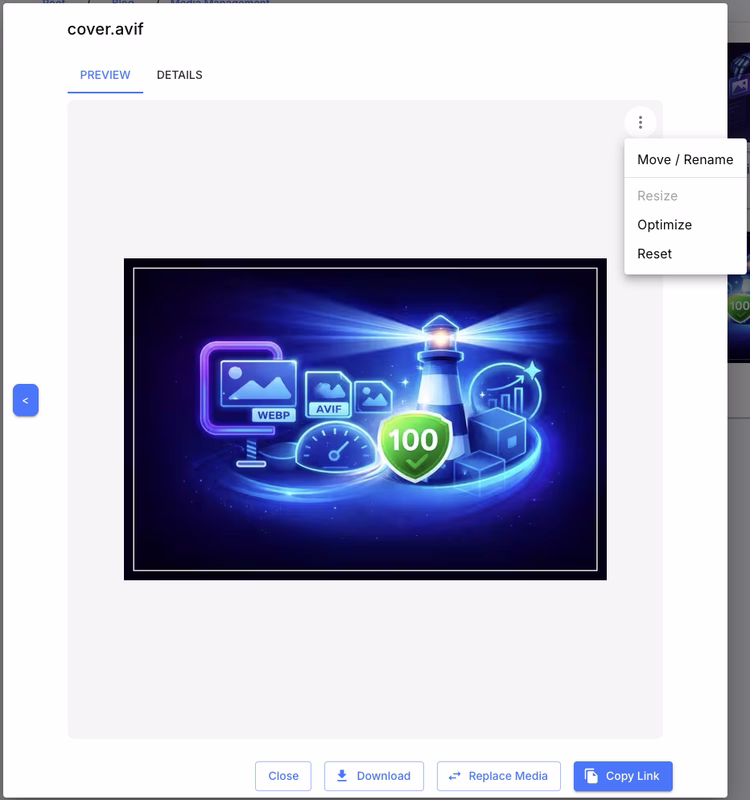
Step 6: Use One-Click Optimise for Existing Images
Optimisation isn't only for new uploads. If you have older images (or you change your preferred format/dimensions), LeadCMS lets you re-apply your current rules.
In practice, this helps when:
- You previously uploaded PNG/JPEG files and now want AVIF/WebP
- Your design has changed and you want stricter max dimensions
- You want to reduce the weight of LCP images on key pages
This matters because the fastest sites are maintained - not “optimised once”. LeadCMS lets you continuously improve performance without rebuilding your entire asset pipeline.
Step 7: Reset an Image Back to the Original
Sometimes you need to undo a change. LeadCMS includes a Reset action that lets you revert an image back to its original uploaded file.
This is useful when:
- You optimised with the wrong settings and want to start over
- You resized too aggressively
- You want to restore the original format/quality before trying a different optimisation setup
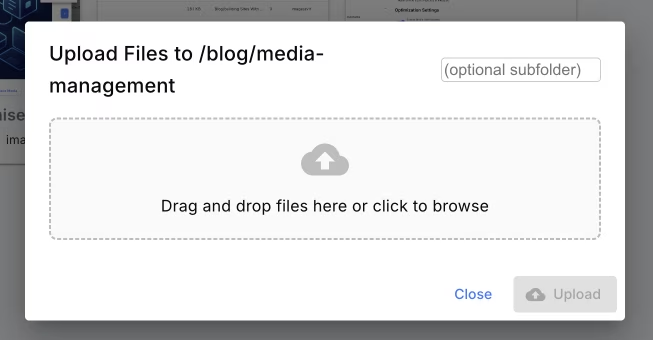
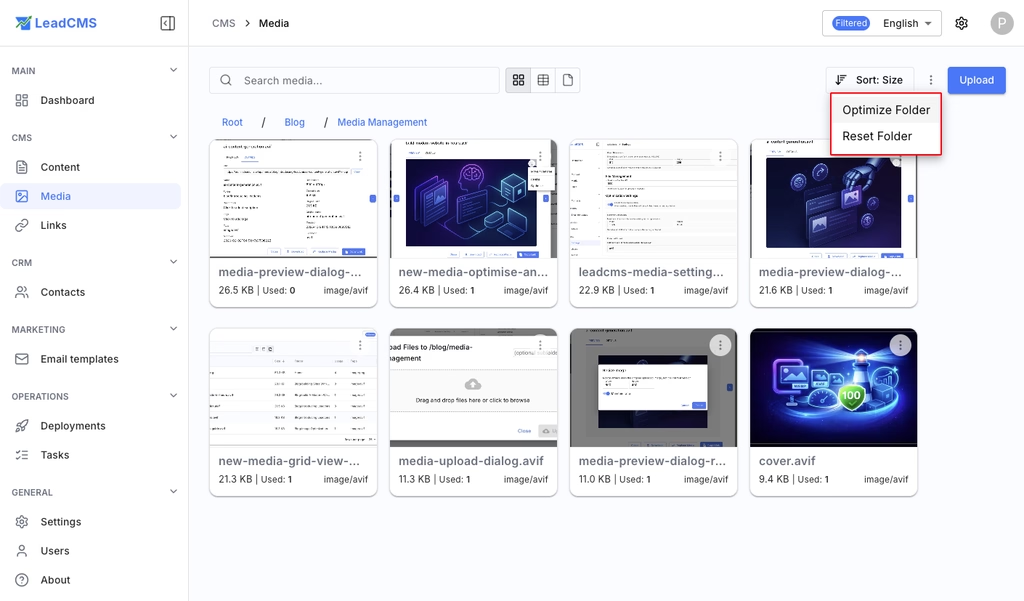
Step 8: Optimise/Reset an Entire Folder (Optional Subfolders)
When you update your optimisation rules (format, quality, or max dimensions), you may want to apply them consistently across a section of the site.
LeadCMS lets you optimise or reset all images within a folder, with the option to include subfolders.
Before running a folder action, you’ll see a confirmation step where you can decide whether to include nested folders.
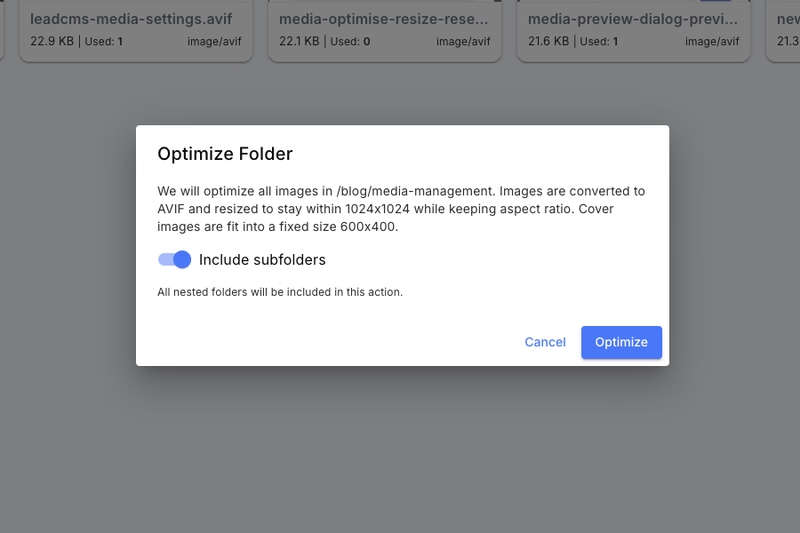
This is especially helpful for large sites where media is organized by page, feature, or campaign folders.
What This Looks Like in a “100% Lighthouse” Workflow
A simple workflow that works well for most teams:
- Enable optimisation globally (AVIF + max dimensions)
- Upload images through the Media Library (drag-and-drop)
- For anything used above the fold (hero/cover):
- Verify size and dimensions in Details
- Resize if needed
- Optimise if the file looks too heavy
- When settings change, optimise a folder (optionally including subfolders) to re-apply your latest rules
- If anything goes wrong, use Reset to return an image (or a folder) back to the original
- Keep an eye on the media list for “large” outliers over time
The result: faster pages, fewer performance regressions, and a CMS workflow that supports speed by default.
Why This Matters (Beyond Lighthouse Scores)
A 100% Lighthouse score is a great goal, but the real wins are:
- Faster experience for mobile users
- Better SEO signals from performance and UX metrics
- Lower bandwidth and hosting costs
- Less time spent manually preparing images
LeadCMS helps you build super fast sites by combining content management and media performance tooling in one place - so performance becomes part of publishing, not a separate “cleanup step”.